Thursday, April 26, 2012

yews a hoe.

First things first, I changed the name of the blog.  When I created the blog I felt like I was rushed into making a name for it - you can't write a (first) blog post without a name!  "House to home" was a common blog title online anyway.  When someone asks me what my style is, I've always said "cozy contemporary".. before our precious Cozy existed.  I love the sleek lines of contemporary style.  I love black and white.  I love contrast and pops of color.  I also, however, love to feel comfortable.  My favorite feeling is feeling "cozy"(like sitting in front of a fire with coffee, reading a book by a window while it rains, cuddling while it snows).  That is one reason why we named our dog, Cozy. 

Sidenote: this is the picture that I feel in love with on the Petfinder app.  Ehren had a GSP (German shorthair pointer) in college, so I knew he would think this little guy was cute.  This was our text conversation on a Friday:


Jamie: let's get him!  (in a joking, har-har kind of way, never thinking he would say yes)
Ehren: okay!
Jamie: really?
Ehren: yes!
Jamie: really??
Ehren: yeeeessss.
Jamie: don't you dare get my hopes up


We got him on Tuesday. 


Back to the main topic: ...sometimes contemporary can look cold with stick-like furniture.  I like to create rooms that are a combination of contemporary and cozy, therefore, "cozy contemporary".  When people come over, I want them to think, "ooh, I could sit in that room, drink some lots of wine, and chat for hours".

Now, on to explaining the name of this post.  Yews a hoe.  No, I'm not calling you a ho.  I'm talking about landscaping.  We are lucky to have wonderful landscaping done by the Nyes over the years.  Our yard definitely needed some lovin' from our somewhat green thumbs due to lack of maintenance from the time the Nyes moved out, someone moved in/out, and we moved in.  Last fall, our house looked like this:


A little overgrown, don't you think?  So, for a temporary fix, I took the shears and trimmed everything up.  Then, it looked like this:


But, as you can see, there is a gap between the yews and there was only about 6 inches worth of green on the ends of the twigs.  I'm not sure how long they have been there, probably many years.  So, like usual, our conversation went like this:

Ehren:  what do you want to do today?
Jamie:  want to rip out the yews?
Ehren: okay!

Here's another before. 

See the gap and the twiggy-ness?


We lopped off most of the branches to prepare to dig up the root balls.


Bye, bye, shrubbery.
Cozy, the spectator.

After we cut off all the branches, Ehren started digging up the root balls with a shovel.  Unfortunately fortunately for me we only have one shovel, so Ehren did all the manual labor. 

Ehren digging up the root balls.  Not easy work. 

And THEN, on the last (6th) rootball, our shovel broke.  I told Ehren to give me his reaction and it looked like this:

This is Ehren's "mad" face... pretty sweet looking, huh?
So, then I told him to look angry.

Ehren's "angry" face.
This is Cozy's angry face (he was pretty upset about the shovel):

"I can't believe dad broke the shovel."
Right after the shovel broke and when we were trying to use a hand shovel to get the root ball out, our neighbors literally ran over with a shovel to help us out.  We got a new shovel the next day.

This is the aftermath:

Then I mowed all the monkey grass down to get rid of last years growth.


We found a brick pathway that was almost completely covered up.


Cozy found the only shade in the yard to keep cool.


Here's the view from the porch after the yews were dug out. 


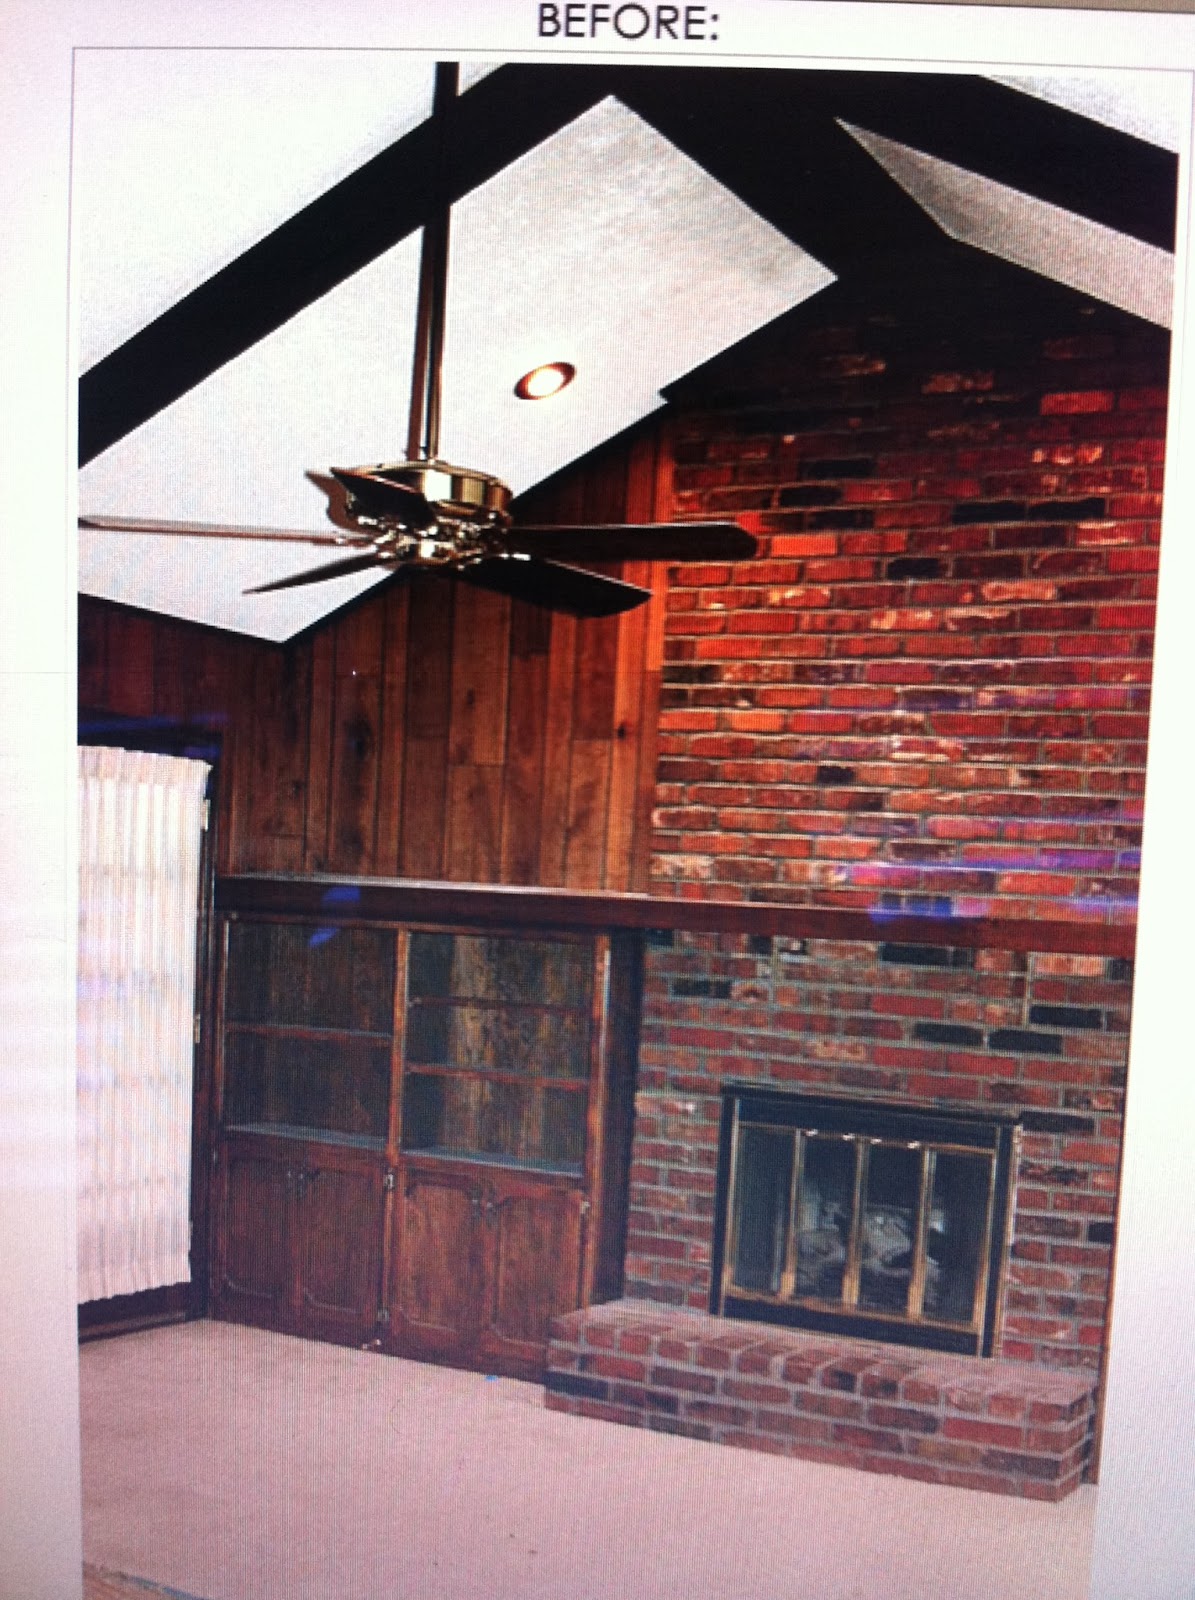
After hours of digging and sweating and Cozy laying in the shade, we were done.  To recap, here's BEFORE:


And here's AFTER:


It looks a little bare now, but you can finally see the porch and the porch swing.  It will look less bare when the monkey grass and pampas grass grow and when we get pots to put on the front porch.  We will eventually put in different shrubs that aren't as tall.  I've got lots of ideas in my head about sprucing up the front of the house (fixing up the front door, porch light, porch swing, landscaping, shutters, trim).  I'm so excited. 


Thursday, April 19, 2012

living room = done!

Hooray, it's the final post of the living room series... the one I'm most excited about!  As you recall, I made this chevron artwork, refinished the brass fireplace insert, made some paint chip art, some no-sew pillows, and painted and decorated the built-in shelves.  And finally, the biggest, most tedious part that made the biggest difference in the room - painting the brick fireplace!  Now, if you're like my father and you think brick is artwork and should never be painted, I'm sorry.  I just had to brighten up the room and redo the light-sucking, brown and traditional fireplace.  

I wanted to do this before we even moved in, but I knew that once brick was painted, it's never going back to the way it was.  I had to think this over.  About seven months after moving in, I got the itch.  Most Saturdays start out at our house like this: Today show + coffee + couch + Pinterest.  I started looking up "white brick fireplaces" to see how it would look.  I would glance over to Ehren with that "I'm up to something, don't be mad, please continue to love me" face.  He knew something was up.  Our conversation went like this:

Ehren: what?
Jamie: ...nothing...   
Ehren: oh great, what do you want to do now?
Jamie: I want to paint the fireplace.
Ehren: this happens every weekend!  you get an idea in your head and then you have to do it!
Jamie: it's not like we're gonna do it THIS weekend.

...Famous last words.  It was done by the end of the next day.  So let's look at the before, shortly after we moved in:


So brown and so not my vision.  I called Lawrence Decorators to get advice on how to prep and paint the fireplace.  They said to clean it, use masonry sealer, and then paint with whatever paint you want.  Here was what I found online that gave me peace of mind to go ahead with the project.  It's kind of crazy how similar the pictures are to our living room.


I vacuumed and wiped down the fireplace for a cleanish slate.  Has anyone ever told you how hard it is to clean brick?  After it was clean, I started the masonry sealer coat. 


First part of the masonry sealer.

Ehren's doing a great job.. look at that form!
Cozy is once again exhausted from home improvement.
After the masonry sealer and waiting a long four hours, we started painting with the real paint.  We just used the same kind used for woodwork/baseboards but in white.  

Beginning of the real paint.
Since we painted the fireplace white, we had to paint the built-ins from "dove white" to white".  They needed another coat of paint anyway due to scuffs and scratches.


And 14 hours of painting later (with both of us painting), we were done!  Since the masonry sealer provided such a nice surface for the paint, we only had to do one coat of real paint (approximately half of a gallon).  Doesn't it look brighter? 


And here is the accumulation of all the previous posts (taken with our camera instead of my phone)


View from the kitchen.
View from the dining room.


The coffee table is my favorite piece of furniture in our house.  It is a resin cast of railroad ties from the Philippines - has a lot of meaning for us!  Plus it's huge and doesn't show crumbs, water rings from glasses, dust, etc.  


Well, what do you think?  To recap, the living room looked like this:


And now looks like this:


Our living room is finally the "vision" I had when we moved in.  It took about 7 months to complete but it was way worth it.  I was able to plan things out and "get it right" the first time.  My advice is: don't be afraid to paint brick!  Especially if you want to brighten up the room and make it more contemporary. 

Cozy agrees. 


the black plague, part III: front door

Now the black plague has moved to the front door.  While I think the "rustic" and "distressed" look has its place, I do...

Blog design by Get Polished | Copyright 2016