
I took some extra time off at Christmas and we decided to spend part of it tearing out the rest of our bathroom. We were functioning quite well with our new shower and old sink and toilet but knew we needed to get our butts in gear and finish this project before the one year mark rolled around (I know, right?). We had to get mentally prepared because as soon as we started the demo, we knew we would have to get our bathroom back to a functional state quickly as we had guests coming within a month. When we took our hammers and crow bars to the walls, I got that same overwhelming feeling I got when we started this project in the first place. But alas, it had to be done. Let the demo begin.
Buh bye, giant, water-wasting toilet tank :


Is there anything worse than an old wax ring?


The obligatory "we're happy now, we don't know what we're getting ourselves into, let's capture this moment" picture. And no, we weren't getting ready to go to or watch a KU game, this is just how we dress. Every. Day.

I don't think we'll be using these anywhere in our house.


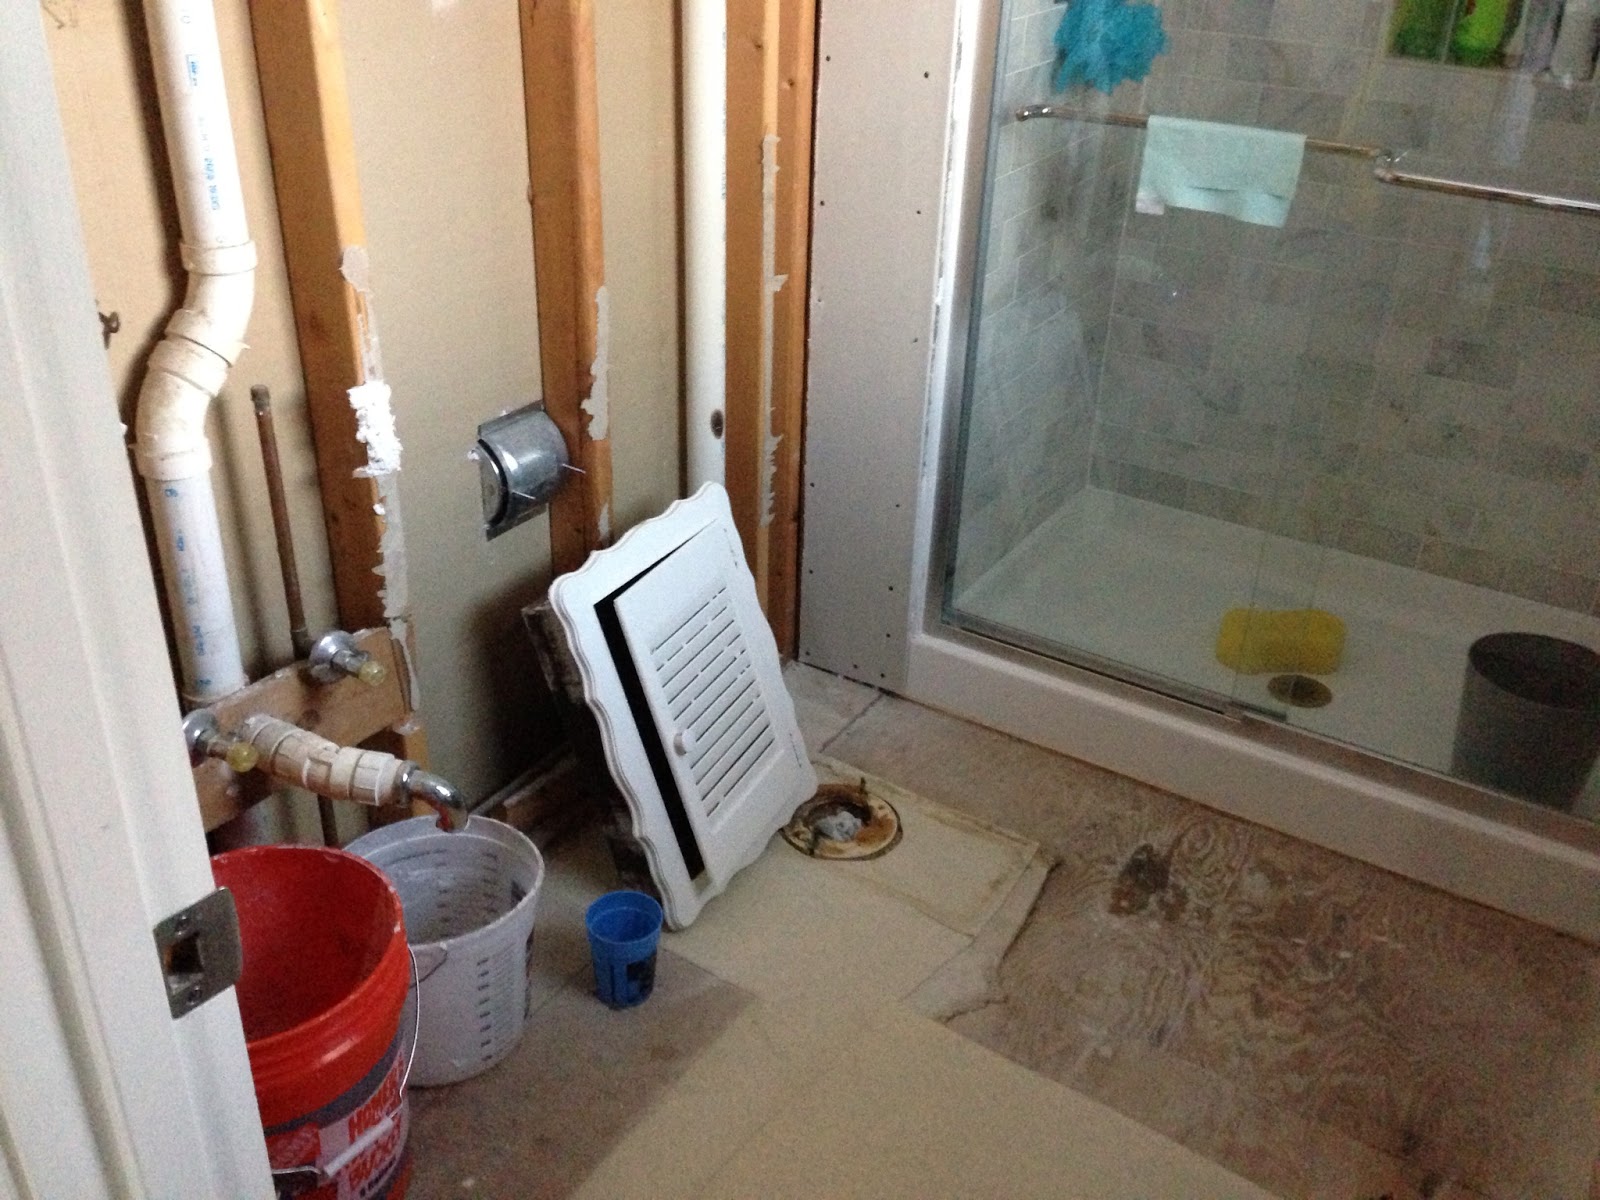
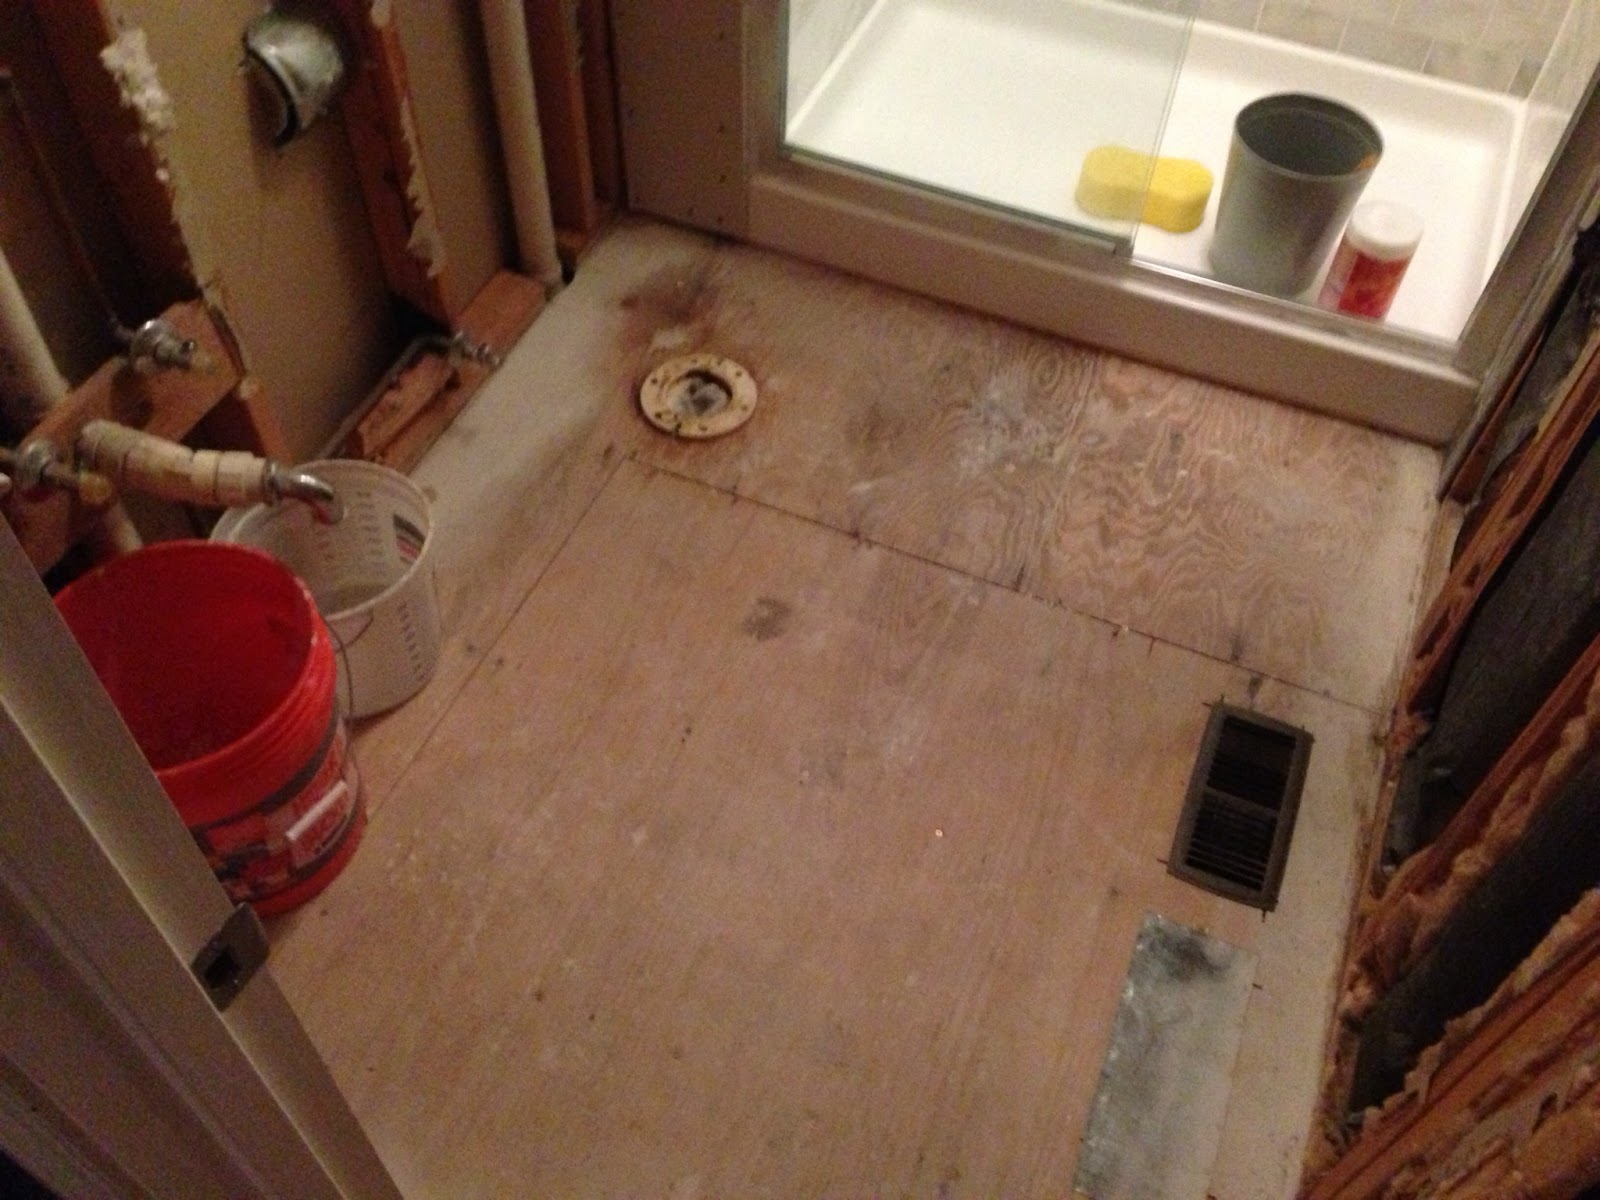
No more linoleum, only subflooring now.

Without the bathroom door up, the bathroom seems so much bigger - well, as big as 20 square feet can feel. The door was pretty much a waste because we never shut it, it took up room (especially if our robes were hanging up on the other side) and it covered up the window. More motivation to try our hand at a pocket door! See how spacious it looks?
When we took out the threshold, we had to pull some of the carpet back. And when we pulled it back, look what we found - the name of our friends who lived here for many years. Of all the carpet in our house, this is the section we pull back? Another reminder of how we want to love and take care of this house like they did.

This demo was much easier than ripping out the shower - and a lot less scary as well! Let's take a look at the to do list:
Rip out tileRemove old shower panRemove and clean up moldConvert two shower knobs (hot and cold) to oneRaise shower head from six feet high to sevenRe-route PVC piping to allow room for shower nichesRaise subfloor with new plywood so new shower pan will fit over drainInstall shower panInstall and seal drainInstall shower niches to studsInstall backerboardCaulk between shower pan and backerboard junctionCaulk and seal around shower nichesLearn how to tileStart tilingFreak outAsk yourselves, "why are we doing this?!"Begin divorce papersTile for hours and hours and days on endWonder why and how people do this for a livingShred divorce papers because now we know what we're doing and love each other againSeal tileGrout tileSeal groutInstall shower doorCaulk corners and seamsInstall shower head and knobShower for the first time since AprilShower again later that day... just becauseRemove vanityRemove toiletRemove light, light switches and mirrorRip out linoleumRip out drywall and trim around door and window- Move light switch and electrical outlet because they are in the way of the pocket door
- Install pocket door
- Drywall
- Paint (fun!)
- Apply backerboard to subfloor
- Tile floor (with less freaking out because we are pros now)
- Grout and seal
- Install toilet
- Assemble and install vanity
- Assemble and install medicine cabinet
- Update frameless mirror
- Install vanity light
- Put trim and baseboards back
- Crown molding?
- Buy fun, new accessories
- Bathroom dance party
We've made quite a dent in the to-do list. The rest of the list does not seem as daunting now that we know how to tile and since the remaining tasks are a lot less time consuming. Famous last words, right? Stay tuned.

Aw, I love it that you found our name on the carpet! Are you leaving the 70s medicine cabinet out? Thanks for loving our old house so well!
ReplyDeleteThat great job you done it by own as this actually requires proper plumbing equipments to do so.It is need to take care of pipes and plumbing related things because that are also related to that.
ReplyDeletePlumbing Supplies help
Good job! This is a excellent informative work. I am sharing this information to our friends it is also useful for me and i am so interested about this. Still I like this today. Thanks for sharing.
ReplyDeletePlumber Alabaster, Al
Marvelous posting! I quite enjoyed reading it, you may be a great author.I will ensure that I bookmark your blog and will eventually come back in the foreseeable future.
ReplyDeletePlumber Homewood, Al