The other weekend I woke up craving a new project. I asked Ehren if he wanted to go to ReStore and look for a new project to do. We've been there before and haven't had much luck finding anything. You have to keep an open mind and look for potential. Like when we saw this ugly thing:
I figured it could go by the front door as a new console table. I thought we could paint it and put some baskets on it for storage. We had some inherited furniture by the front door before, but not exactly what we wanted. I also put the chevron canvas there because we were not using it above the fireplace. The two drawer chest was too low but it worked for the time being.
We scored it for $30 after they took a discount off of it for the manager's birthday.
After cleaning it, I was ready to prime it.
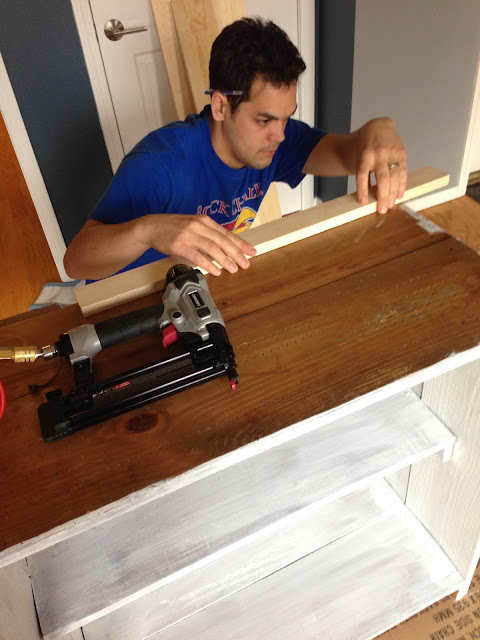
In order to have more space for accessories, we decided to make a larger top out of 1"x 8"s and a 1" x 4".
Oh, nail gun, how we love you so (except for Cozy).
Side story: The first time Cozy was around a nail gun and air compressor was when we refinished our laundry room. When it suddenly kicked on and made a loud noise, it literally scared the shit out of him. Cozy ran upstairs and crapped all over the kitchen. Now, he just cowers and pants.
I painted it with Martha Stewart's paint from Home Depot in thundercloud that I've used on our end tables.
And much like "If You Give a Mouse a Cookie", if you give Jamie a console table, she's going to want to make a chalkboard to go over it. We got a piece of plywood from Home Depot to make a chalkboard.
After priming it, we used some Crack Shot to fill some of the dents and ridges to make it as smooth as possible.
We checked the size and spacing.
Then made a frame out of some cedar - it has a rough texture that will contrast well with the smoothness of the chalkboard and console top.
I ended up doing one coat of primer and two coats of chalkboard paint.
Then we nailed the frame around. I'm glad I ended up painting the frame white because it will camouflage the white chalk that will pile up on it when I draw on it.
We went to Springfield last weekend to visit some friends and we went to an antique mall. I found these lovely teal canisters that I knew would fit perfectly on the new-to-me console.
Time to stage and accessorize!
I found these storage bins at TJ Maxx and loved that they had chalkboard fronts that would go well with my new chalkboard. I figure we can put mail and Cozy's leash and collar in them.
And since tomorrow is Easter, I figured it would be appropriate for this to be my first "artwork". Plus, it's a good reminder of what is important after a heartbreaking loss for the Jayhawks last night.
I'm so excited to have this done. I've always wanted a place that I can decorate depending on the season, holiday, or mood I'm in. With this blank


What a cute transformation! I am loving the chalk board...must do this! :-)
ReplyDelete-Breanna Duncan