Wednesday, March 20, 2013

walls and floors and doors, oh my!

Made with Shapely App
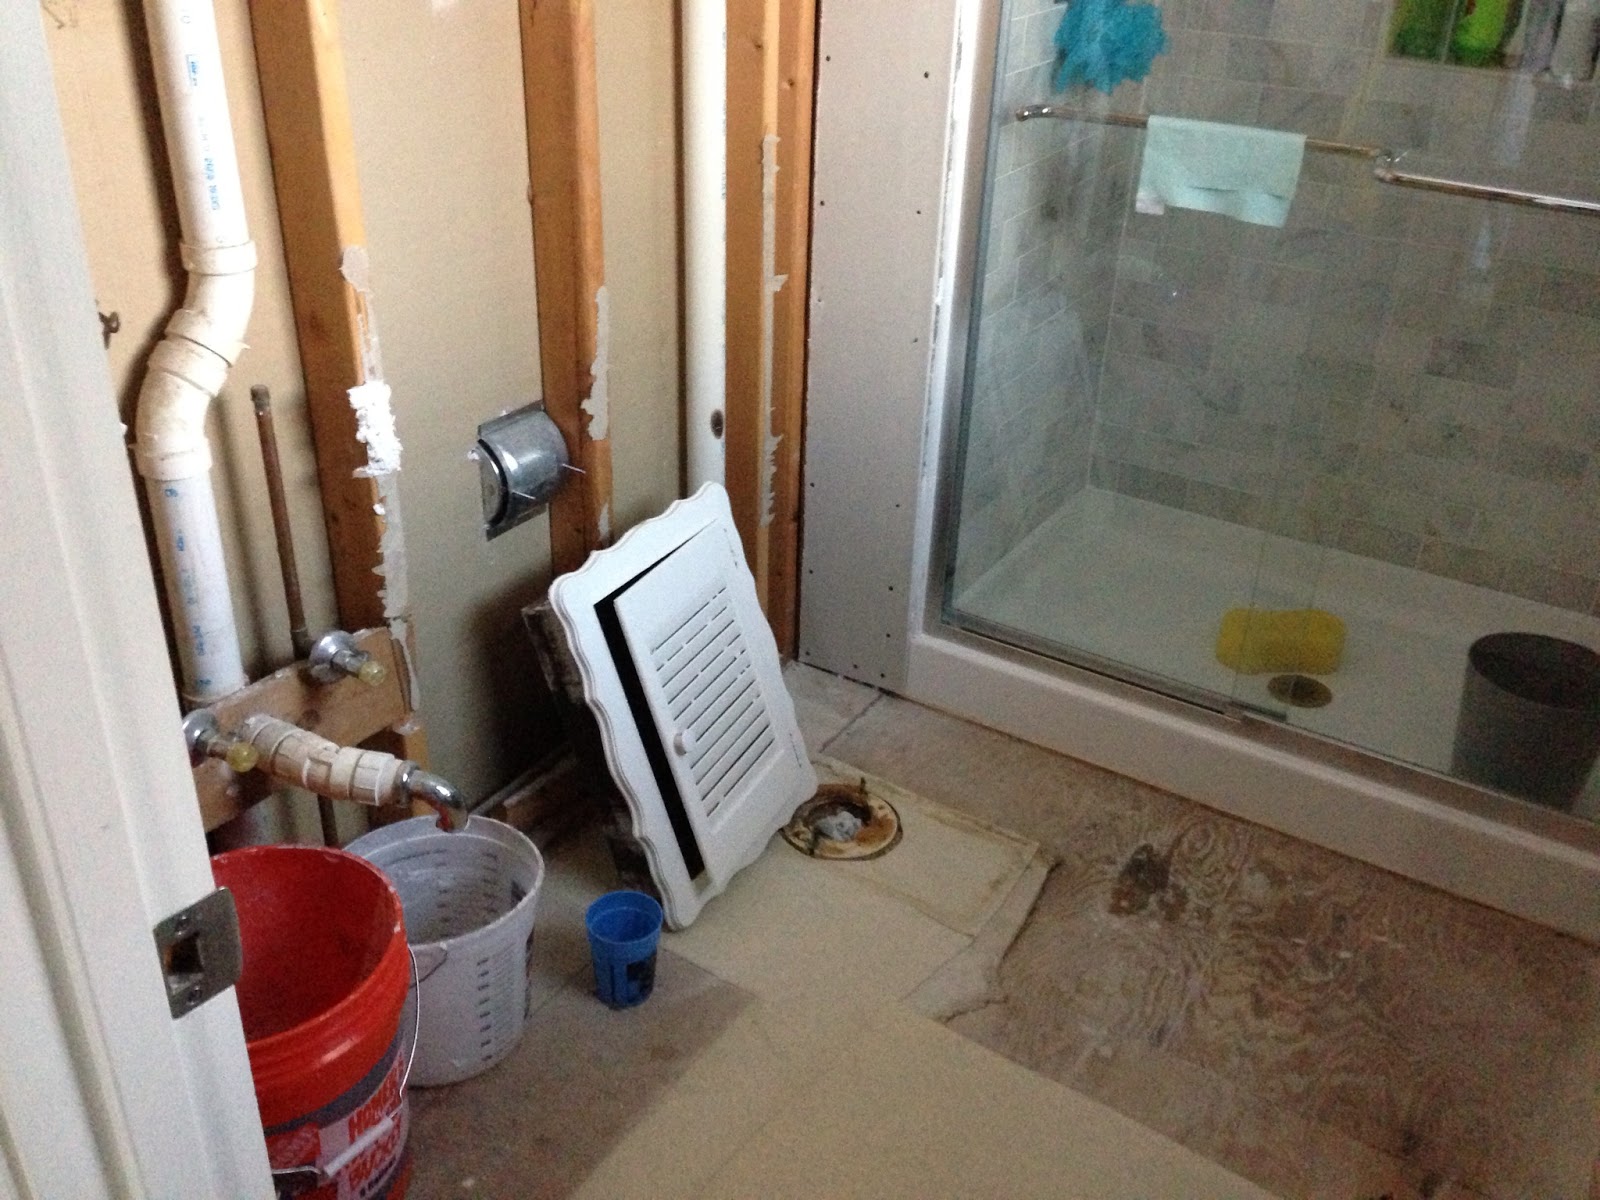
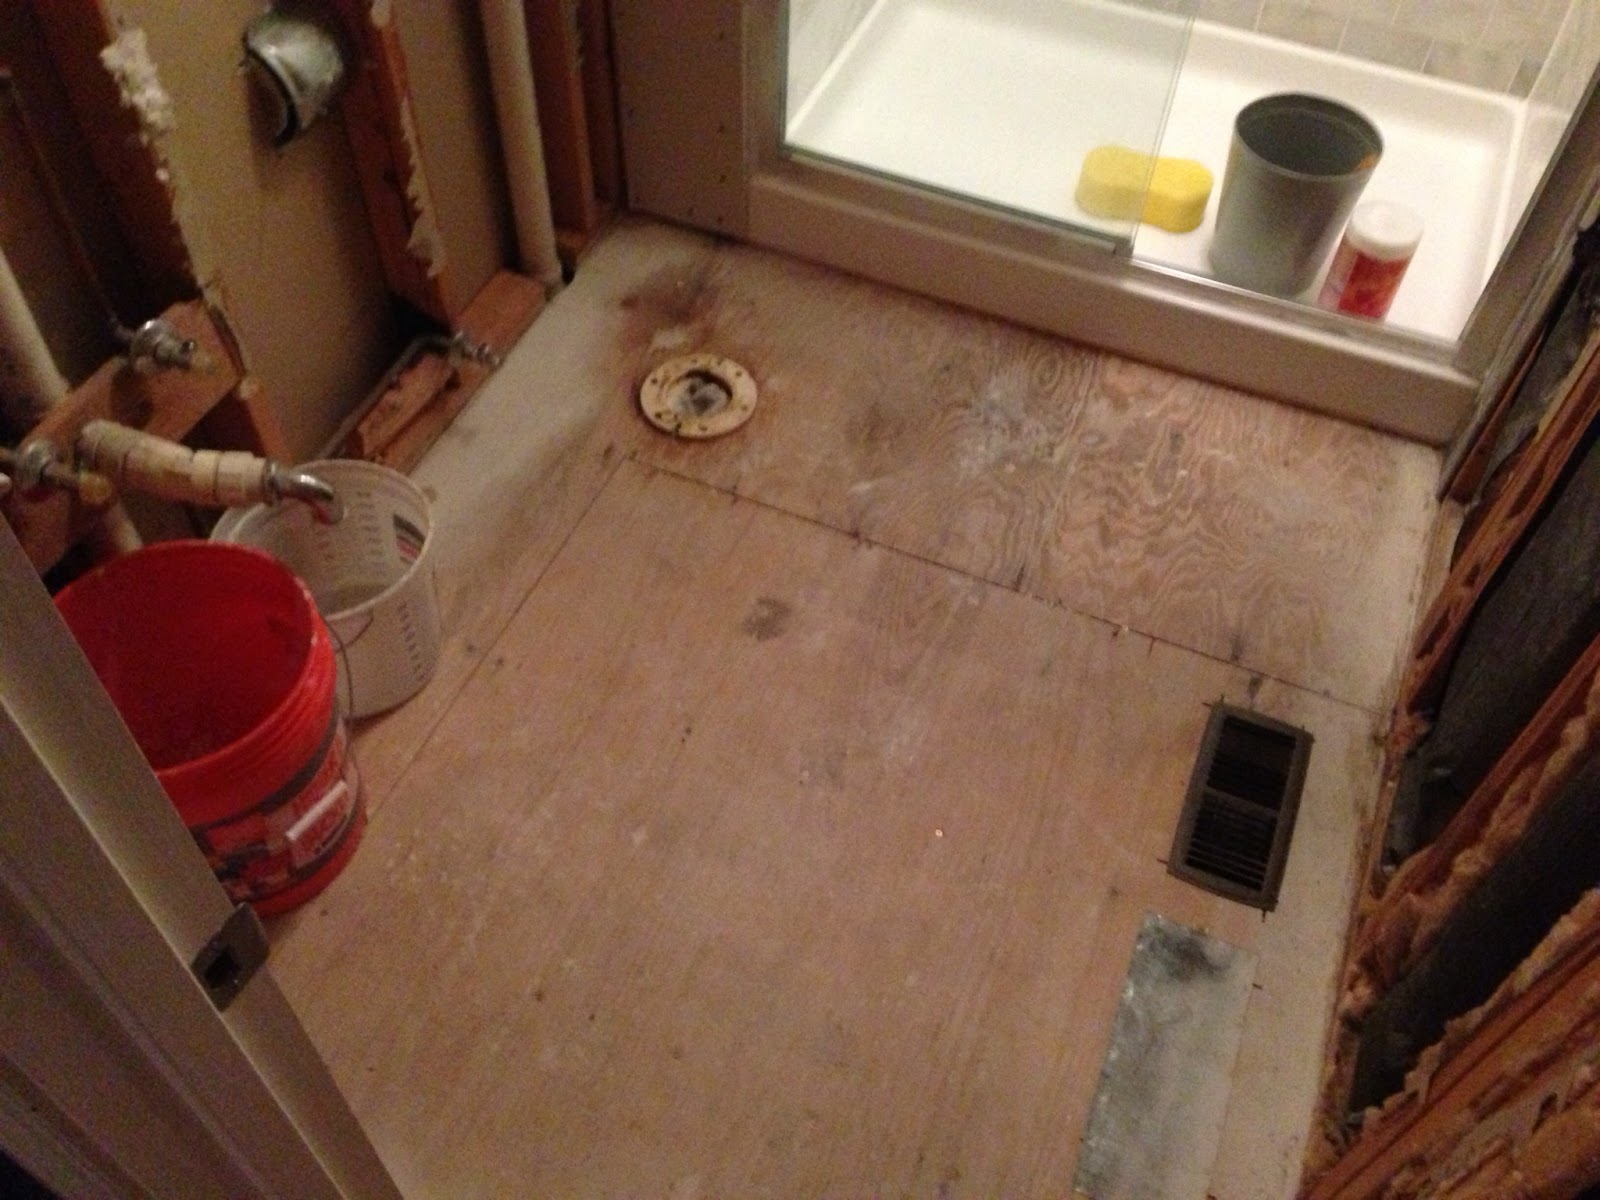
Now that everything has been torn down and removed, it is time to build it back up and re-do everything.  We tore out the old dry wall for multiple reasons.  First, it had been wallpapered, de-wallpapered, bordered, de-bordered, painted, spackled, and sanded.  Every texture you could think of but not want.  Also, we knew we wanted to put in a pocket door to make more room in our tiny master bath.  You obviously have to remove at least one side of the wall to put in a pocket door, so we thought, might as well rip out all the walls!  We figured it would be quicker than trying to smooth out the other two walls.  Plus, we thought, "we've never drywalled - might as well learn now!" (Just like we did with tilinginsulating our atticstaining our deck, etc)

Here's where we left off in the last blog post:


The guys at The Tile Shop said that when you tile a floor, it should be 1 1/2" thick.  This includes 1/2" of subfloor, 1/4" of cement board, 1/4" of thin set, and 1/2" of tile.  This makes a sturdy floor and will prevent the tile from sagging and therefore cracking under pressure.  We just went with the cement board Home Depot carries.


After the cement board was installed, we were ready to start tiling.  Since we are now unprofessionals, we weren't nearly as scared as when we did the shower.


Tiling the floor went a lot faster than the shower - obviously since the tiles were larger (6" x 24") and less area to tile (30 square feet instead of 85 square feet).  We got it done in one day, and by one day I mean Ehren finished tiling at about 6:30 a.m. when I woke up for work.

But look at the beautiful, charcoal, striated, hardwood floor looking tile!  Totally worth it.


We thought grouting the floor would be easier than grouting the walls but we were wrong.  It reminded us of staining our deck: we bruised every bony prominence that touched the floor as we backed our way out of the bathroom.  And since the floor is so dark, you could see the grout on the tile very well.  We kept asking, "isn't it clean yet?!".  It took a while and we ended up with some bruises but there is nothing like the difference grout makes on a freshly tiled surface!


Once we got the floors done, we started on the walls... or lack thereof.  


We ripped out the door frame to prepare for the pocket door.


We got a pocket door kit from Johnson Hardware through Home Depot.  It was delivered quickly and had the best reviews online.  No one on the Home Depot website recommended the brand they carry in the store, they recommended this brand.  We decided to impatiently wait to have a kit delivered since we didn't want to have to tear out the wall again if the other brand failed.


Bless Ehren's heart for taking the time to read through the instructions and follow them so well.


You obviously can't have electrical outlets where the pocket door will slide, so we had to move the electrical to the corner.  Luckily we had enough slack that we could re-route the outlets without difficulty.  Well maybe a little difficulty.


The only way to do it was to stack them.


You can see the new frame that we built; the pocket door slides through the metal-wrapped studs.


This is looking through the wall, where the door will be.

We also built out studs for the new light - in order to center the new light, we had to add some 2"x4"s.  (The new vanity is wider than the old one).


Luckily, the door slides and works like a charm!  We were so excited we chose to do a pocket door and  that it worked.  Before, the door was always open, it covered the window, and it stuck out from the wall and took up a lot of space.  Now we forget we even have a door!


Now for some real walls.  We got Green Board which is a mold resistant drywall recommended for bathroom walls.


Next, we mudded.  We ended up doing 3 coats with 24 hour drying time in between.  We set a space heater in the bathroom with the door closed to speed up the process, especially since we keep the house at a balmy 62 degrees during the winter.  


Sanding is fun.  Not.  Oh, and if you're looking for a new hairstyle like the one I'm rockin' here, stay tuned for the next blog post!  


Then we primed the drywall with Kilz drywall primer.  Catchy name, huh?


Finally, the part I was looking forward to!  Getting some color on the walls.  Okay, maybe not a whole lot of color, but color indeed.  We chose Stonington Grey by Benjamin Moore.  We used the Aura line of paint because it's recommended for bathrooms and it comes in a flat finish.  I was dreading using a glossy-ish paint for a humid bathroom, but Benjamin Moore came through and saved the day.  I don't use painter's tape, all you need is a Purdy brush and a smooth stroke.


I also got to pick out a new register for the vent.  I didn't want it to stand out too much so I went with the matte black one.  I think it's just right. 


That was a lot of pictures, especially for such a small room but it's fun to see what a difference walls and floors make.  It's starting to feel like a real room instead of a DIO mess.  

Cozy asks:

"Mom, why are you standing in the shower?" and

"Do you guys like the bathroom?"


Sunday, February 24, 2013

bathroom demo: no turning back now


I took some extra time off at Christmas and we decided to spend part of it tearing out the rest of our bathroom.  We were functioning quite well with our new shower and old sink and toilet but knew we needed to get our butts in gear and finish this project before the one year mark rolled around (I know, right?).  We had to get mentally prepared because as soon as we started the demo, we knew we would have to get our bathroom back to a functional state quickly as we had guests coming within a month.  When we took our hammers and crow bars to the walls, I got that same overwhelming feeling I got when we started this project in the first place.  But alas, it had to be done.  Let the demo begin.

Buh bye, giant, water-wasting toilet tank :

\


Is there anything worse than an old wax ring?


The obligatory "we're happy now, we don't know what we're getting ourselves into, let's capture this moment" picture.  And no, we weren't getting ready to go to or watch a KU game, this is just how we dress.  Every.  Day. 


I don't think we'll be using these anywhere in our house. 


No more linoleum, only subflooring now.


Without the bathroom door up, the bathroom seems so much bigger - well, as big as 20 square feet can feel.  The door was pretty much a waste because we never shut it, it took up room (especially if our robes were hanging up on the other side) and it covered up the window.  More motivation to try our hand at a pocket door!  See how spacious it looks?  


When we took out the threshold, we had to pull some of the carpet back.  And when we pulled it back, look what we found - the name of our friends who lived here for many years.  Of all the carpet in our house, this is the section we pull back?  Another reminder of how we want to love and take care of this house like they did. 


This demo was much easier than ripping out the shower - and a lot less scary as well!  Let's take a look at the to do list:
  1. Rip out tile
  2. Remove old shower pan
  3. Remove and clean up mold
  4. Convert two shower knobs (hot and cold) to one
  5. Raise shower head from six feet high to seven
  6. Re-route PVC piping to allow room for shower niches
  7. Raise subfloor with new plywood so new shower pan will fit over drain
  8. Install shower pan
  9. Install and seal drain
  10. Install shower niches to studs
  11. Install backerboard
  12. Caulk between shower pan and backerboard junction
  13. Caulk and seal around shower niches
  14. Learn how to tile
  15. Start tiling
  16. Freak out
  17. Ask yourselves, "why are we doing this?!"
  18. Begin divorce papers
  19. Tile for hours and hours and days on end
  20. Wonder why and how people do this for a living
  21. Shred divorce papers because now we know what we're doing and love each other again
  22. Seal tile
  23. Grout tile
  24. Seal grout 
  25. Install shower door
  26. Caulk corners and seams
  27. Install shower head and knob
  28. Shower for the first time since April
  29. Shower again later that day... just because
  30. Remove vanity
  31. Remove toilet
  32. Remove light, light switches and mirror
  33. Rip out linoleum
  34. Rip out drywall and trim around door and window
  35. Move light switch and electrical outlet because they are in the way of the pocket door
  36. Install pocket door
  37. Drywall
  38. Paint (fun!)
  39. Apply backerboard to subfloor
  40. Tile floor (with less freaking out because we are pros now)
  41. Grout and seal
  42. Install toilet
  43. Assemble and install vanity
  44. Assemble and install medicine cabinet
  45. Update frameless mirror
  46. Install vanity light
  47. Put trim and baseboards back
  48. Crown molding?
  49. Buy fun, new accessories
  50. Bathroom dance party

We've made quite a dent in the to-do list.  The rest of the list does not seem as daunting now that we know how to tile and since the remaining tasks are a lot less time consuming.  Famous last words, right?  Stay tuned. 

Tuesday, February 19, 2013

valentine's day: revisited

This blog has been mostly DIY/house stuff, but it's also kind of like my online scrapbook.  It's a way for me to record memories that Ehren and I are making.  I like that I can go back and relive house projects and special occasions and holidays and thoughts and day to day things that I might otherwise forget.  I've written about date nights at home here and here and just looking at the pictures takes me back - even though it's been only a few months ago.  I'm looking forward to looking back on these blog posts years from now so I can remember how we tried to make every moment special.

So now that I've gone all sappy on you, let's get even worse and talk Valentine's Day.  Before Ehren became my Valentine, my dad was.  One of my favorite memories growing up (that seemed normal to me at the time) was a little dinner that my dad would make on V-Day.  And by little I mean a TEN POUND HEART-SHAPED MEATLOAF.  Sounds disgusting and like something off Man v. Food, doesn't it?  Well, it wasn't.  It was delicious and provided many leftovers, as you can imagine.  He would also set up a scavenger hunt with multiple clues and riddles around the house that we would have to decipher before we got to our special V-Day present.  If only I had pictures to share!

V-Day isn't a big deal per se but we like to make it special.  Ehren and I have now made a tradition where we spend Valentine's Day at home.  We've been doing it for the past four years and I love it.  We make it a little more fancy by spending a little more money on the food and adding dessert and maybe some candles.

Here's the menu:


Ehren usually ends up being my sous-chef and is excellent at grating cheese.


I asked him to grate 1 cup of the white cheddar cheese for the creamy dreamy mashed potatoes which translated to 2 1/2 cups in his mind.  Heck, it's Valentine's Day, you have to at least double the amount of cheese.


The creamy-dreamy mashed potatoes recipe is from this cookbook that I got as a bridal shower gift.  Everything I've made from this has been delicious.  


Making balsamic syrup is probably the easiest thing ever.  Boil balsamic vinegar and sugar until it's thick.  That's it.


Mmm, fillet mignon.  Fun physical therapy related fact:  the fillet mignon is the iliopsoas major muscle in the cow.  We humans have this muscle and it's a very deep hip flexor muscle.  Woo, anatomy!


Sear them in some butter for about 3 minutes per side so they are medium rare.


Another "easiest thing ever" is oven roasted asparagus.  Snap the ends off the asparagus, drizzle with EVOO, salt and pepper and cook at 400 degrees until you can easily stick a fork in them (approximately 15 minutes)


Pouring wine is easy, too.  Especially with a fancy decanter.  And when your husband does it for you.


After the fillets are done, crumble goat cheese on top and broil until the cheese melts.  Then drizzle the balsamic syrup over the top.


A post isn't complete until Cozy makes an appearance.  Here he is begging under the table.  His new thing is resting a paw somewhere on us (foot, arm, shoulder, leg) to politely ask for a bite.


While we were eating dinner, I looked around and there were EIGHT toys surrounding the dining room table.  I think someone was trying to get our attention.


At first I thought the dinner would be a big, messy, pain in the ass, but it wasn't.  It was almost easier than some of the weeknight meals I make.  There were fewer dishes, very little chopping (only the potatoes) and I didn't even throw a spatula!  The hardest part was getting everything to finish at the same time.  Good thing I'm good at organizing and planning.  We finished the food fest with some Cold Stone ice cream that I picked up earlier. 


 I wonder what life will be like next Valentine's Day?  Will we stay classy and make more fillets or fish or will we go old school and start the heart-shaped meatloaf tradition?  All I know is that it will be better than the last as we will have another year of lovin' each other under our belts.  Cheers to that.


the black plague, part III: front door

Now the black plague has moved to the front door.  While I think the "rustic" and "distressed" look has its place, I do...

Blog design by Get Polished | Copyright 2016