 |
| Made with Shapely |
It's been a while since I blogged about our bathroom. I think now is the time... especially since we've picked up the pace recently now that life has settled down a little bit. The bathroom
We originally bought backerboard from Home Depot, but when we talked to our guy Leon at The Tile Shop, he recommended their product for about the same price as the HD. When we looked at their backerboard, we could tell it was higher quality so we decided to go with the Tile Shop brand called Perma Base. Since the backerboard will butt up against drywall, it needs to be 1/2" thick. Most backerboard comes in 3'x5' sheets and is very heavy. We bought seven sheets and lugged them up the stairs, one piece at a time.

This stuff does not cut quite like drywall, it's a lot harder since it's basically concrete instead of gypsum (like drywall). We got a backerboard cutter from The Tile Shop which helped with this. Luckily we have a few extra bedrooms so we can spread out and make each room a "project room". (Which will all eventually be re-done... of course).


And here is Cozy, always near the task-at-hand. Along with Audrey.

We measured out the shower area and cut the backerboard to size, trying to make as few cuts as possible to use the least amount of backerboard sheets.

Cutting and hanging backerboard is hard work - not only is it hard to cut, it's hard to hang up since it's so heavy. We secured the backerboard with... wait for it... backerboard screws!


We butted the backerboard up to the niches leaving enough space between to allow for silicone caulk.


We used paint sticks to separate the backerboard pieces to allow the thin set to join the segments together.


Walls! We finally have walls instead of studs.


We caulked the backerboard/shower pan junction.


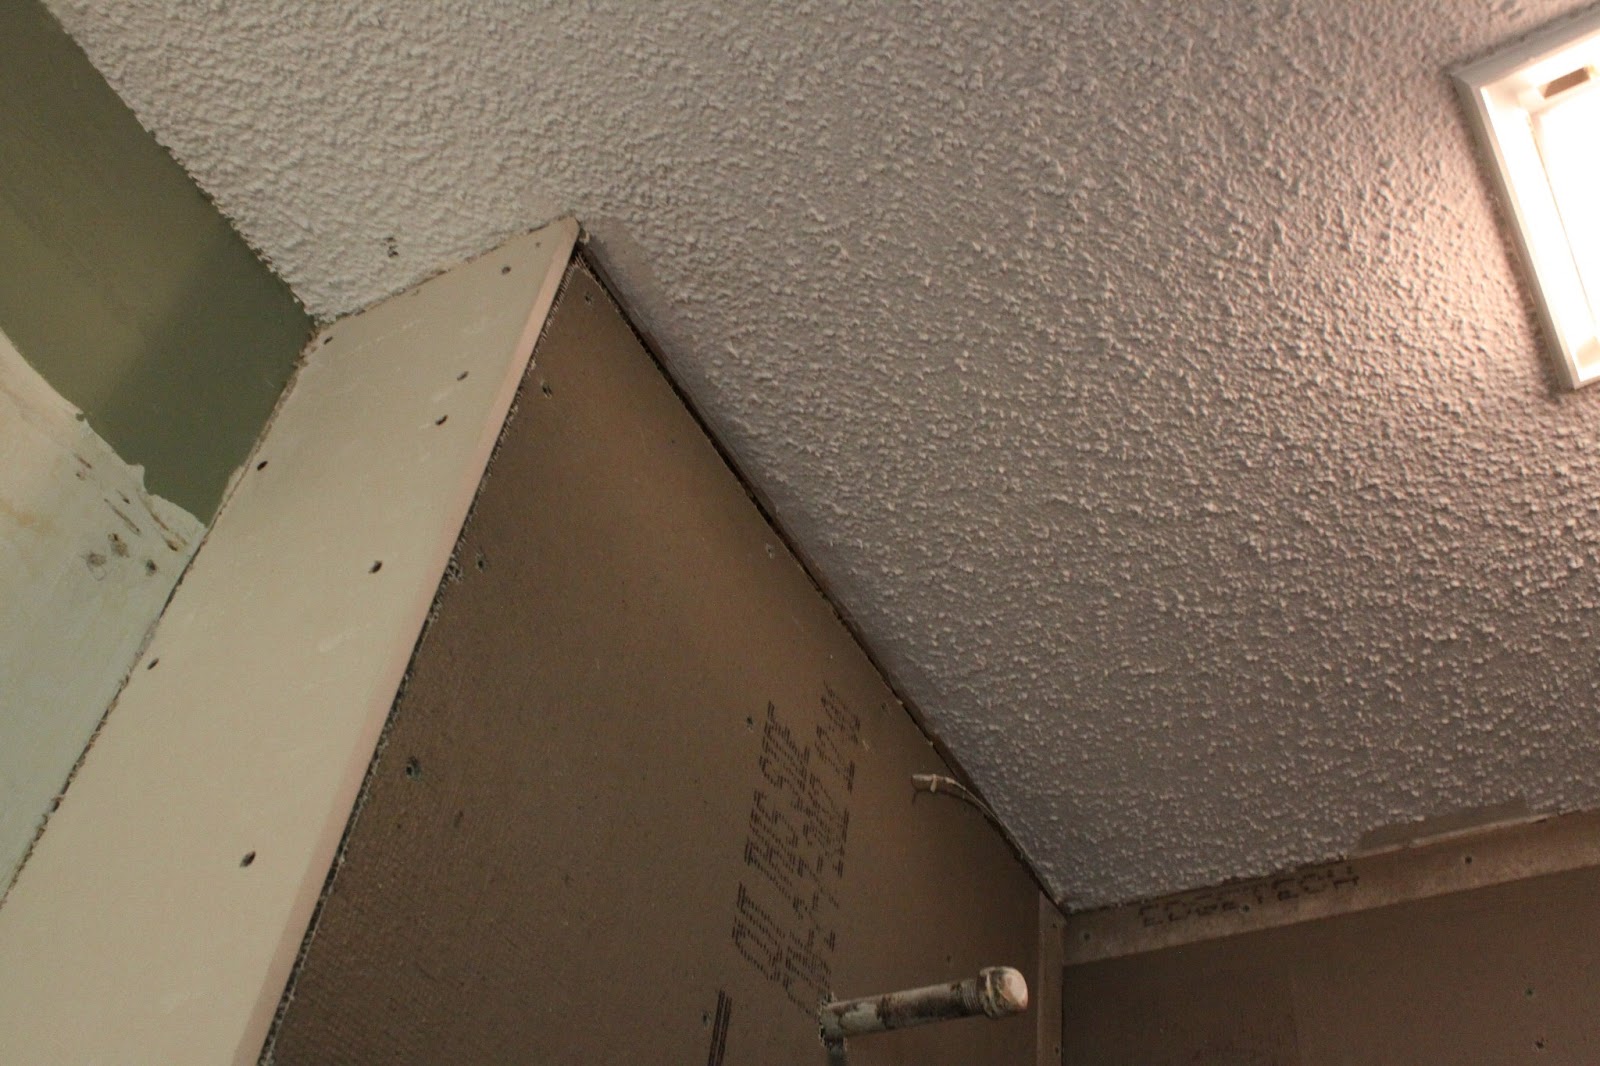
Ugh, popcorn ceiling everywhere in this house. Not sure if we want to tackle that messy project.
This portion of the bathroom reno went pretty smoothly, next up is to tile the shower walls. Eek! Let's check out how our check-list is going...
Rip out tileRemove old shower panRemove and clean up moldConvert two shower knobs (hot and cold) to oneRaise shower head from six feet high to sevenRe-route PVC piping to allow room for shower nichesRaise subfloor with new plywood so new shower pan will fit over drainInstall shower panInstall and seal drainInstall shower niches to studsInstall backerboardCaulk between shower pan and backerboard junctionCaulk and seal around shower niches- Learn how to tile
- Start tiling
- Freak out
- Ask yourselves, "why are we doing this?!"
- Begin divorce papers
- Tile for hours and hours and days on end
- Wonder why and how people do this for a living
- Shred divorce papers because now we know what we're doing and love each other again
- Seal tile
- Grout tile
- Seal grout
- Install shower door
- Caulk corners and seams
- Install shower head and knob
- Shower for the first time since April
- Shower again later that day... just because
- Remove vanity
- Remove toilet
- Remove light, light switches and mirror
- Rip out linoleum
- Rip out drywall and trim around door and window
- Move light switch and electrical outlet because they are in the way of the pocket door
- Install pocket door
- Drywall
- Paint (fun!)
- Apply backerboard to subfloor
- Tile floor (with less freaking out because we are pros now)
- Grout and seal
- Install toilet
- Assemble and install vanity
- Assemble and install medicine cabinet
- Update frameless mirror
- Install vanity light
- Put trim and baseboards back
- Crown molding?
- Buy fun, new accessories
- Bathroom dance party
The longer we use the shower in our other bathroom, the more I want to rip it out and re-do it. Too bad you can't rush a bathroom renovation. I hope everyone has a great Saturday - it's supposed to snow here (even though it was 60 degrees yesterday) and I'm pretty excited about it!

Yours blog is very attractive. I like it very much. Thanks for shares
ReplyDeleteThanks for all the pictures and details! My husband and I are about to start our renovation this next month in our bathroom and we are doing very similar stuff, this is great info! Good luck with the next steps, cant wait to see how it turns out!
ReplyDeleteGood luck! It's definitely taken a lot longer than we anticipated.. mostly because we were chicken and afraid to tile. All I can say is go all in and learn as you go!
DeleteImpressive! I can't wait to see the tile up on the walls.
ReplyDeleteWow! This blog is very attractive by giving the best renovation on Tile Grout..Best information shared by Checklist..
ReplyDelete